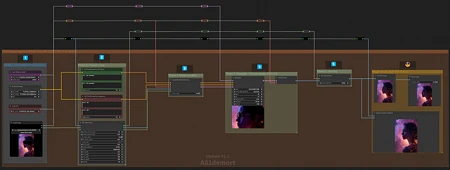
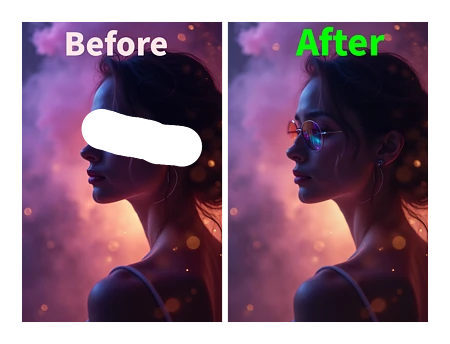
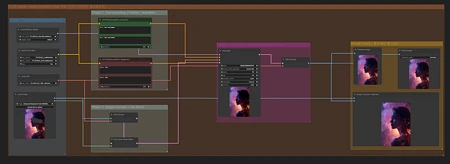
This workflow designed for beginners, with steps grouped for clarity.
Workflow Steps
Load Workflow: Open the inpainting workflow in ComfyUI.
Masking: Define areas for inpainting using the MaskEditor.
Settings: Adjust mask blur and denoise values as needed.
Execution
Run the workflow and review results.
Save your work when satisfied.
=========================================================
이 인페인팅 워크플로우는 초보자를 위해 단계별로 그룹화되어 있습니다.
단계별 구성
워크플로우 로드: ComfyUI에서 인페인팅 워크플로우를 엽니다.
마스킹: MaskEditor를 사용하여 인페인팅할 영역을 정의합니다.
설정: 마스크 블러와 디노이즈 값을 조정합니다.
실행
워크플로우를 실행하고 결과를 검토합니다.
만족스러우면 작업을 저장하세요.
=========================================================
[V1.1 Update ]
We have updated the workflow to address an issue where following the previous workflow for inpainting resulted in a decrease in overall image quality.
The new workflow allows for editing only the inpainted area separately and then stitching it back together, resulting in much cleaner and higher-quality images.
This update was made possible using the ComfyUI-Inpaint-CropAndStitch node.
https://github.com/lquesada/ComfyUI-Inpaint-CropAndStitch
===========================================================
이전 워크플로우를 따라 인페인트 작업을 진행하면 전체적인 이미지 품질이 저하되는 문제가 있었습니다. 이를 해결하기 위해 워크플로우를 수정하였습니다.
이제 인페인트 영역만 따로 수정한 후 이를 결합(stitching)하여
훨씬 깔끔하고 고품질의 이미지를 생성할 수 있습니다.
이번 업데이트는 ComfyUI-Inpaint-CropAndStitch 노드를 사용하여 이루어졌습니다. https://github.com/lquesada/ComfyUI-Inpaint-CropAndStitch
[contact]
Youtube : https://www.youtube.com/@A01demort
Instagram : https://www.instagram.com/a01demort/
Naver Cafe : https://cafe.naver.com/sdfkorea
sdhotline : https://sdhotline.com/
Popularity
Info
Latest version (v1.0): 1 File
2 Versions
Go ahead and upload yours!


