


I try my best to avoid hiding the workflow flow, while balancing keeping it clean and user-friendly.
It does use a lot of custom nodes to make life easier and workflow cleaner. Use manager to install the missing ones.
This is a proper inpainting with alimama control-net + Flux Fill support on V3.

Supports loading of an external mask (need to match the image size) or doing the inpainting within the right-click "Open MaskEditor" on the image itself.
Supports FILL (use FastBypasser - black node)
Supports area inpaiting x full image inpaiting (use FastBypasser - black node)
Supports variable denoise (Change denoise on the CONTROL ROOM)
Supports Negative (use FastBypasser - black node)
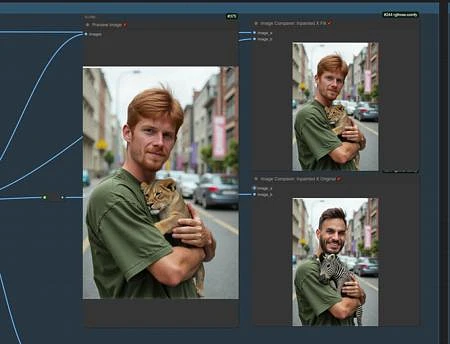
Proper composite so no VAE degradation
I added LoRa support and Daemon Detailer support (both are optional)
Popularity
Info
Version v6.4 Simple: 1 File
About this version: v6.4 Simple
This is a visually simpler dumb down version of 6.4. I recommend the expanded 6.4, but this looks nicer and people might find it easier to use.
It means all the workflow is swapped under the rug and I made a bunch of the decisions for you. This is still a proper inpaiting workflow (meaning, it composite at the end and make sure your image is divisible by 8).
What is different:
You can't load an external mask
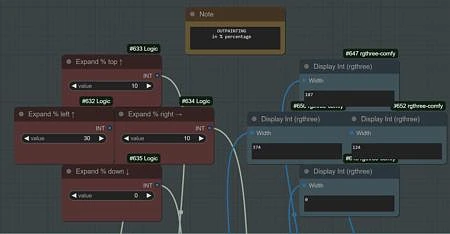
You can't load a mask to expand the context
You don't have the fainted aura mask option
You can't choose to NOT composite
It won't composite the image a second time back to its original resolution, meaning you will end up with an image divisible by 8, always. On the original workflow you can choose.
This will retrieve the loaded image automatically to the "SD Prompt Reader" node, but you can still disable it to save the inpainting positive prompt.
You can't write a manual original image prompt (to save as metadata instead of the inpainting prompt)
You will have an extreme hard time finding and hijacking any part of the workflow to customize it, like add anything like another control-net for example
27 Versions
Go ahead and upload yours!