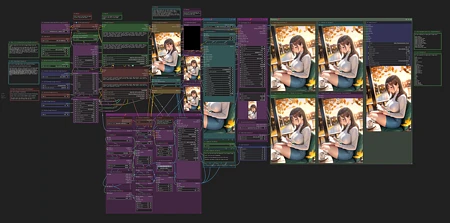
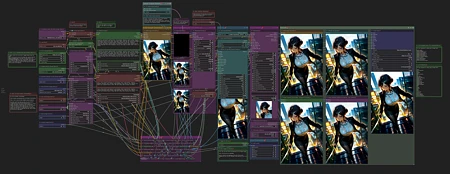
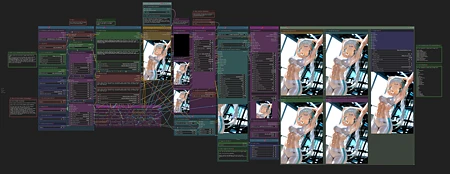
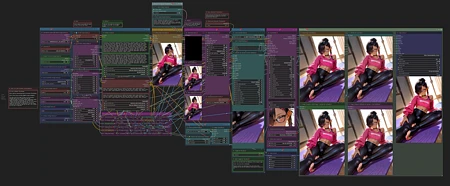
This workflow (as of v1.6) works as follows:
Initial Image Generation
Watermark Removal (this requires a watermark detection model that will need to be placed in your ComfyUI/models/ultralytics/bbox folder) - I use this one: https://civitai.com/models/311869/nsfw-watermark-detection-adetailer-nsfwwatermarkssyolov8
Upscale 2.5x
FaceDetailer
Color Correction
Save Image (You will need to specify your output path on the Image Saver node in the "path" field).
"Load Lora" node is not needed. To use a lora, please use the "Select to add Lora" option on the "Positive Prompt" node.
Note: if your prompts seem like they being completely ignored, please make sure to check if the "Mode" on the prompt nodes are set to Populate and not Fixed.
This has been tested on Illustrious and Pony models as mentioned in my "Suggested Resources". YMMV. Try playing with the settings/prompts to find your happy place. Current settings are to my tastes (for Illustrious) and may be aggressive for some models, leading to cooking the image.
I strongly recommend using ComfyUI manager to install any missing custom nodes.
v1.6 changes:
Faster workflow. Takes roughly 3.5 minutes on a 3060.
Removed Lying Sigma Sampler node for the more advanced Detail Daemon Sampler node.
Also removed the second KSampler. So now it's just the one Ultimate SD Upscale node for the upscale portion of the workflow.
Added the option to use FaceDetailer (AV).
I didn't notice a difference between this one and the one from the Impact Pack. If you prefer the Impact Pact one, you can just sub it in.
To use FaceDetailer, you will need some sort of face detection model. I use this one.
rgthree-comfy has a nice feature that can set a group to be bypassed in a workflow.
I have the FaceDetailer in its own group.
If you feel like you don't need to use it all the time, you can just toggle the icon that looks like a connector and it will bypass the FaceDetailer. This cuts off around 30 to 40 seconds from the workflow for me.
v1.5 changes:
Took what I liked about v1.4 and v1.3.
Dropped ApplyRAUnet and PerturbedAttentionGuidance from the workflow.
Added Dynamic Thresholding
Layout is similar to v1.3 again.
Settings are based on my tastes, please adjust to your liking!
Full workflow from start to finish averages about 4 to 5 minutes on my 3060.
v1.4 changes:
This version is specifically for use with the CFG++SamplerSelect node. If you do not plan on using the CFG++SamplerSelect node, then v1.3 should still be good to use!
I also added the ApplyRAUnet and PerturbedAttentionGuidance nodes.
Nothing too fancy but has been working great for me. For more info on the new additions (and an old one) please go to:
CFG++SamplerSelect: https://github.com/pamparamm/ComfyUI-ppm
Lying Sigma Sampler: https://github.com/Jonseed/ComfyUI-Detail-Daemon
PerturbedAttentionGuidance: https://github.com/pamparamm/sd-perturbed-attention
ApplyRAUNet: https://github.com/blepping/comfyui_jankhidiffusion
Note: Depending on the checkpoint/model you are using, you may have to make adjustments to the settings (as expected). Some models handle higher numbers in "Lying Sigma Sampler - dishonesty_factor." The author of the node recommends 0.1 for SDXL based models. You can play with higher numbers and see how it turns out for you.
The plus side:
More CFG++ samplers.
More stable end results (at least in my testing).
The downside:
Image Saver does not see the samplers from CFG++SamplerSelect by default. So the field for "sampler_name" will have to be manually entered on the Image Saver node.
Full workflow takes longer from start to finish. Roughly 6 minutes on my 3060 RTX.
v1.3 changes:
Added Detail-Daemon nodes
Added Image Comparer nodes from rgthree's ComfyUI Nodes.
As of 1.3 the workflow works as follows:
Initial Image Generation
Watermark detection/removal
Upscale x1.5
Upscale x2.5
Color Correction
Save Image
Please feel free to adjust the settings to your preferences. At these settings, I typically generate an image from start to finish in about 4.5 minutes on my 3060 RTX.
v1.2 and earlier:
This workflow works as follows:
Initial Image Generation
Watermark Removal (this requires a watermark detection model that will need to be placed in your ComfyUI/models/ultralytics/bbox folder) - I use this one: https://civitai.com/models/311869/nsfw-watermark-detection-adetailer-nsfwwatermarkssyolov8
Upscale 1st pass (current settings are set to 1.5x of the original image)
Upscale 2nd pass (current settings are set to roughly 2.5x of the original image)
Color Correction
Save Image (You will need to specify your output path on the Image Saver node in the "path" field).
"Load Lora" node is not needed. To use a lora, please use the "Select to add Lora" option on the "Positive Prompt" node.
Note: if your prompts seem like they are completely being ignored, please make sure to check if the "Mode" on the prompt nodes are set to Populate and not Fixed.
I strongly recommend using ComfyUI manager to install any missing custom nodes. If you want to download them manually, see the list below.
List of Custom Nodes used:
ComfyUI Image Saver
Comfyroll Studio
Impact Pack
Inspire Pack
Ultimate SD Upscale
comfyui-art-venture
WAS Node Suite
Comfyui lama remover
ComfyMath
This workflow incorporates a slightly modified version of Dynamic Watermark Removal During Render or Image Upload (by Leinad882) found at https://civitai.com/models/265571/dynamic-watermark-removal-during-render-or-image-upload-by-leinad882. Big thanks to them for creating the bounty for the watermark removal workflow and sharing it with the community.
Thanks to @killedmyself for introducing me to the Color Correct node from comfyui-art-venture. This has really been useful in countering the color fade from Ultimate SD Upscale.
I only use the Brightness, Contrast, and Saturation options for that node, but feel free to adjust to your liking.
Disclaimer: Please be aware that sometimes things break when updates are made by comfy or by the custom node creators. (e.g. Ultimate SD Upscale doesn't like using the scheduler input from ComfyUI Image Saver).
Popularity
Info
Version v2.0b: 1 File
About this version: v2.0b
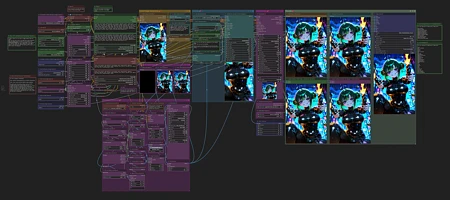
Added IMG2IMG to the beginning of the workflow. As an option: you can take existing images and run them through this workflow.
There will be a boolean switch above the Load Image node. Toggling this to true will run the workflow like normal. Setting it to false will run the workflow as image to image.
Make sure to adjust the denoise and aspect ratio as required. It would probably be beneficial to prompt as well, but feel free to experiment.
75 Versions
Go ahead and upload yours!
